xiaoqiang tutorial (3) Displaying Xiaoqiang Robot Model in rviz
Displaying Xiaoqiang Robot Model in rviz
It is a cool thing to display the current pose of the robot in real time. With rviz, you can easily achieve this goal in ROS. Look at the results:
The Xiaoqiang model package located at Documents/ros/src/xiaoqiang_udrf and can also be downloaded from our open source repository on Github.
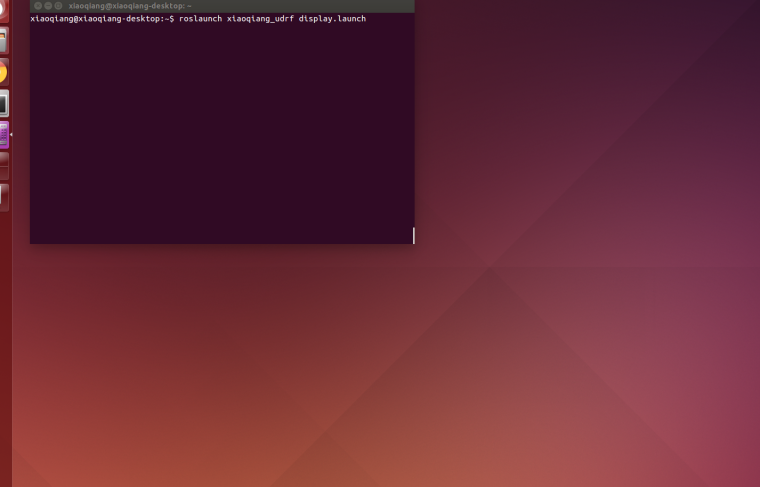
# Connect the Xiaoqiang host to the monitor and keyboard, and after booting, open the terminal
# stop the startup task first
sudo service startup stop
roscore
# Open a new terminal on Xiaoqiang host, start this package
roslaunch xiaoqiang_udrf display.launch
Note that this process requires a graphical interface, so there is no way to operate through a remote ssh connection. If you must use ssh connection, you can add -X (note the capital) option when connecting, but the experience is not good and is not recommended. It is recommended to operate through VNC. VNC installation method can refer to this article.
If you want to open the model package remotely, you need to install Xiaoqiang's model package locally. For users using the Xiaoqiang system image, Xiaoqiang's model package has been installed in advance.
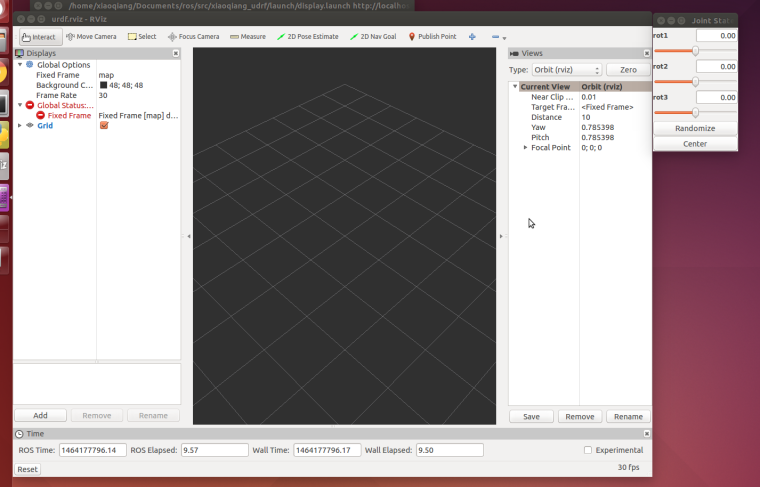
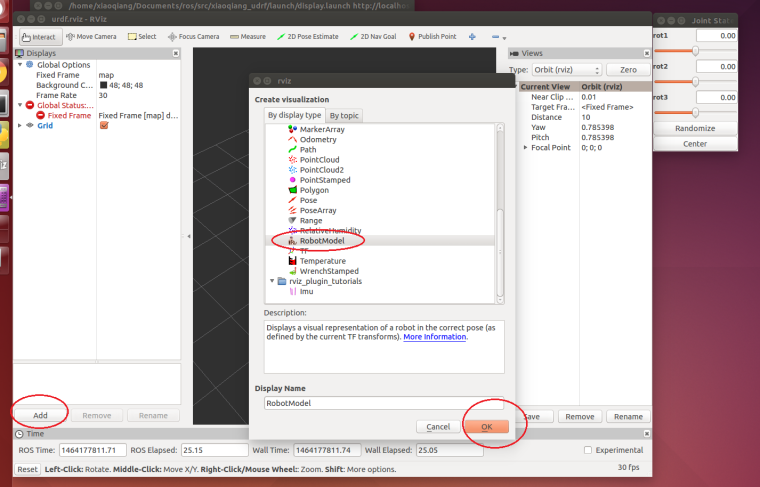
At this point, there is no thing to display, you need to add rviz display items
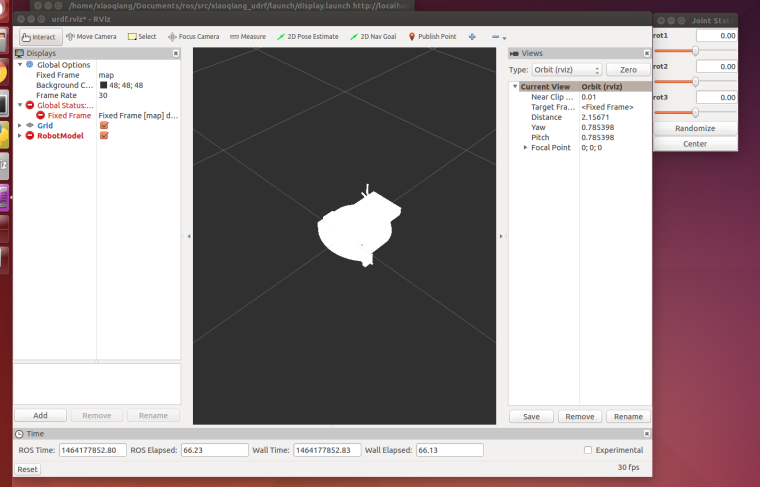
There is still a problem, the entire model is transparent and whitish, this is because the global coordinate system fixed frame in the rviz is not set properly, After map is changed to base_link, it will display normally
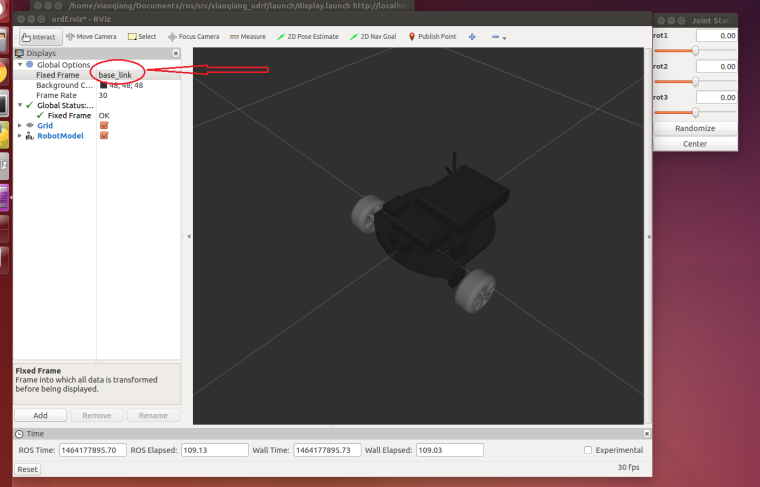
Now operate the slider in the upper right corner to turn the corresponding wheel.
Above we simply demonstrated the use of rviz to display the urdf model. The following section will describe in detail the whole process of making urdf model with solidworks under windows system.
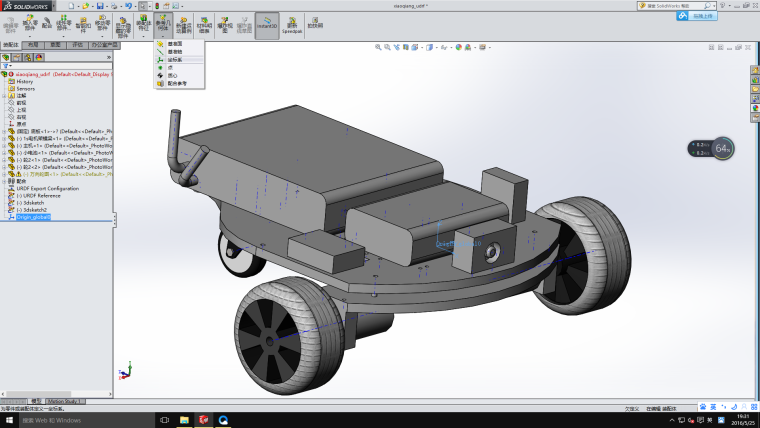
First use solidworks to create the platform model, download and install the solidwork to urdf plug-in.
After making a model, you need to add a coordinate system. This coordinate system will be used as the reference coordinate system of the entire urdf model (ie, the base_link frame in ROS).
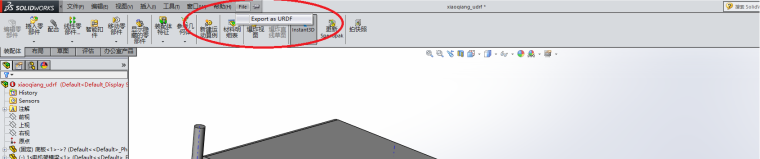
Open urdf plugin
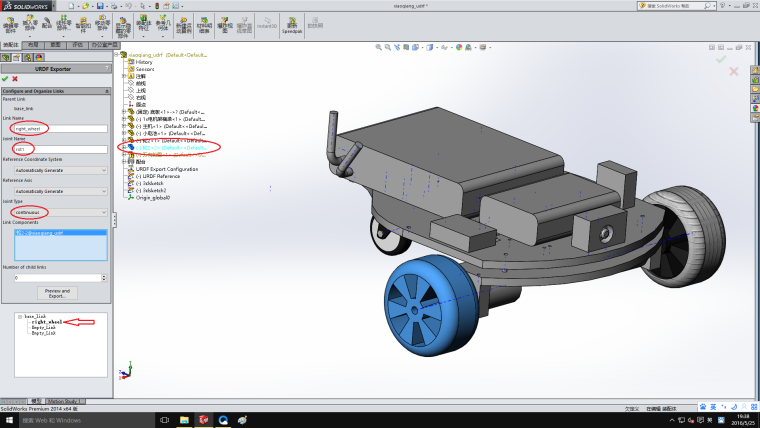
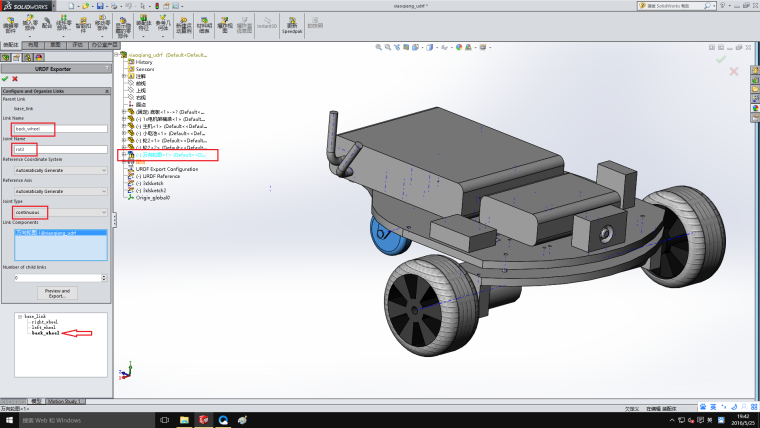
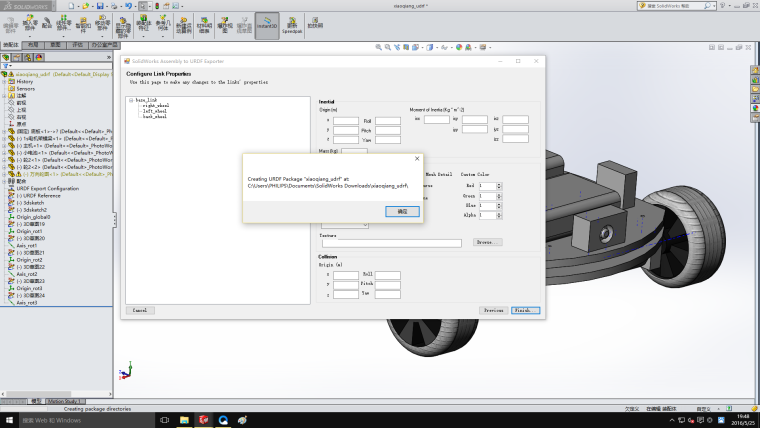
Xiaoqiang has two driving wheels and one driven wheel, so the whole model needs 3 links, 3 joints. First edit the base_link, pay attention to the global coordinate system above, the red area in the picture is the item you need to click or modify.

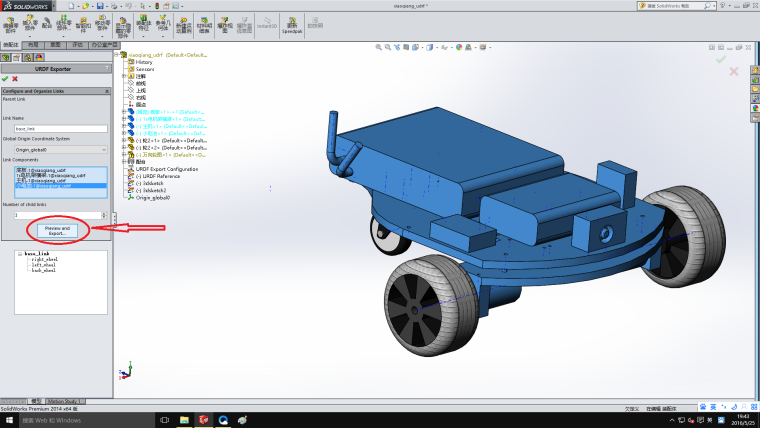
Then right wheel
Continue the revolver and rear wheel

All settings are now complete, start exporting
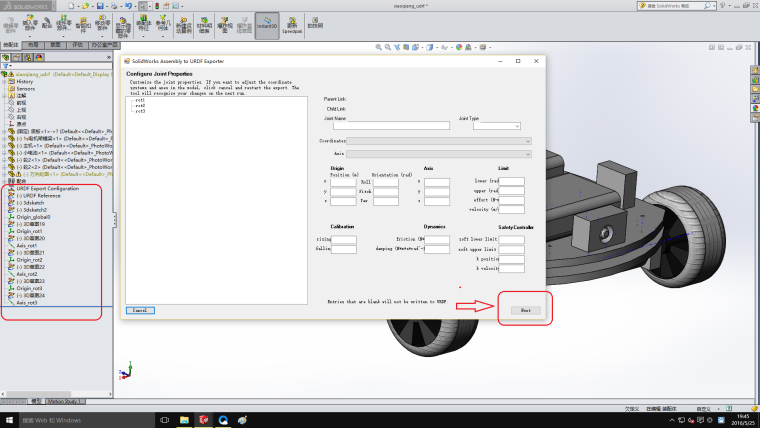
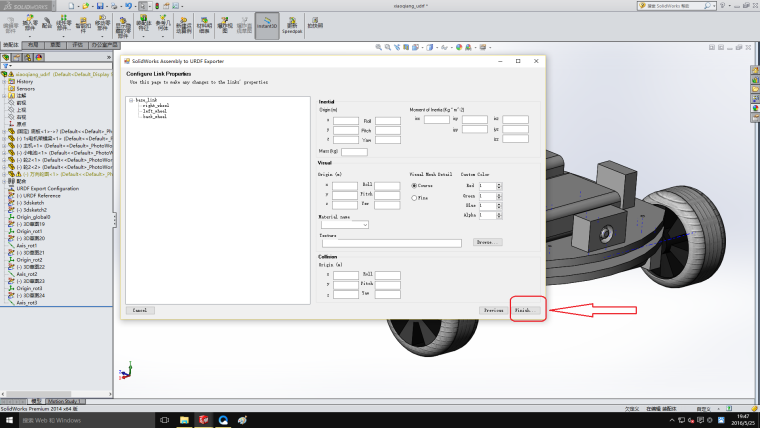
All the way next and ok go
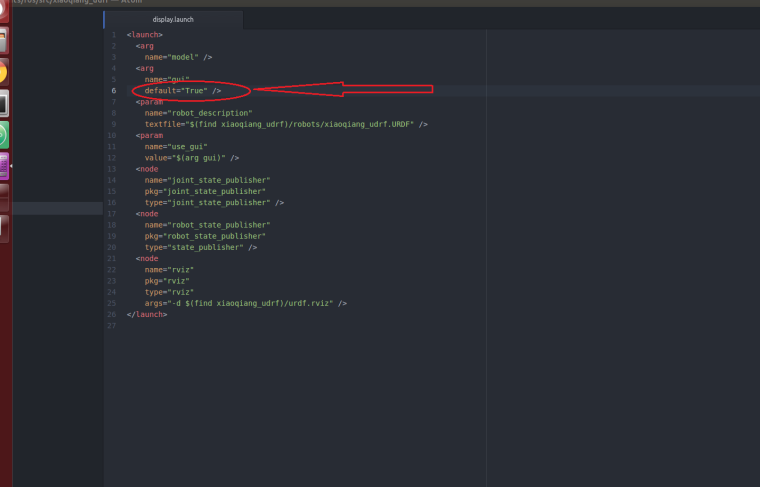
Now that we have obtained the robot's urdf file, the entire generated folder is a ROS package. Modify the display.launch file in the launch folder and change false to true
Copy this ros package to the ROS workspace. After running catkin_make, it can be tested and used by the method at the beginning of this article.