xiaoqiang tutorial (14) using rplidar A2 with gmapping
Using rplidar A2 with gmapping
1.Start the gmapping node
Ensure that the lidar is properly installed, and launch the gmapping launch file after ssh login the host.
ssh xiaoqiang@192.168.XXX.XXX
roslaunch gmapping slam_gmapping_xiaoqiang_rplidar_a2.launch
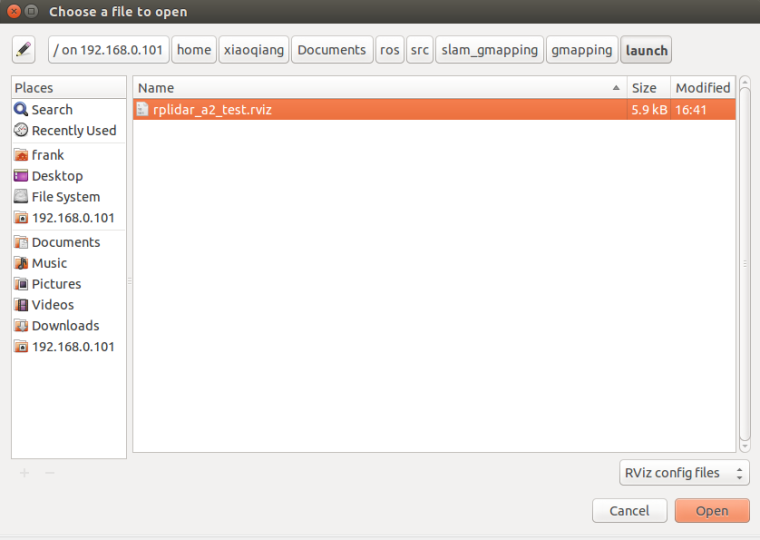
Open rviz in the local virtual machine, select the slam_gmapping/gmapping/launch/rplidar_a2_test.rviz configuration file and open it in Xiaoqiang ROS directory.
Note: Some systems can't do this. You can copy that file directly to your local computer and open it locally.
export ROS_MASTER_URI=http://xiaoqiang-desktop:11311
rviz
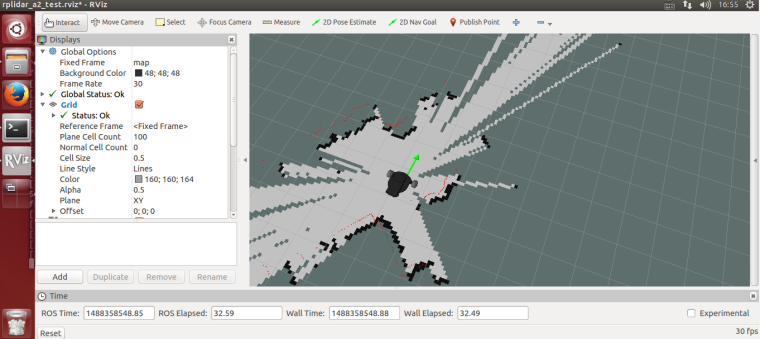
Wait a few seconds, normal results similar to the following figure will appear.
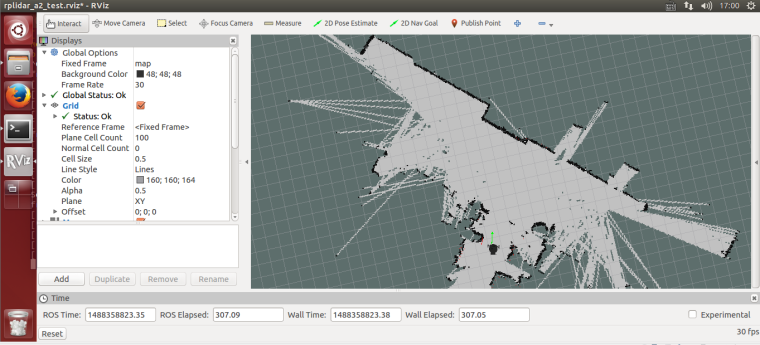
2.Remote control Xiaoqiang and start to build a map
The first way: use the windows remote control client, refer to this post
The second way:using the ssh remote control
ssh xiaoqiang@192.168.XXX.XXX
rosrun nav_test control.py
The third way: use mobile app, refer to this post Xiaoqiang mobile remote control app for Android
3.Save the map
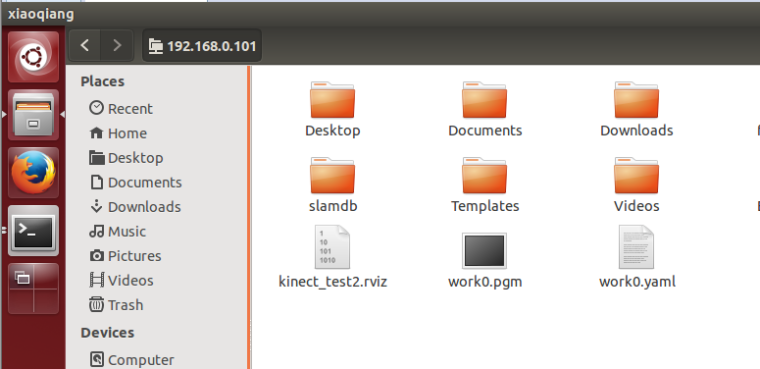
ssh login Xiaoqiang, in the Xiaoqiang home directory save the map as the beginning of work0 file.
ssh xiaoqiang@192.168.XXX.XXX
rosrun map_server map_saver -f work0