xiaoqiang tutorial (1) Basic operation introduction and remote control in LAN
Basic operation introduction and remote control in LAN
before the start
The following tutorial focuses on the use of various features of Xiaoqiang and does not include the teaching of ROS. If you are a beginner of ROS, follow up on the ROS basics while following the tutorials. Please don't just follow our tutorial and enter instructions. Understand the specific meaning of each command please. When you have problems, you should also be good at finding reasons by yourself, which will be helpful for future work and study. If you haven’t understood about tutorials or ROS, please feel free to ask questions in slack.
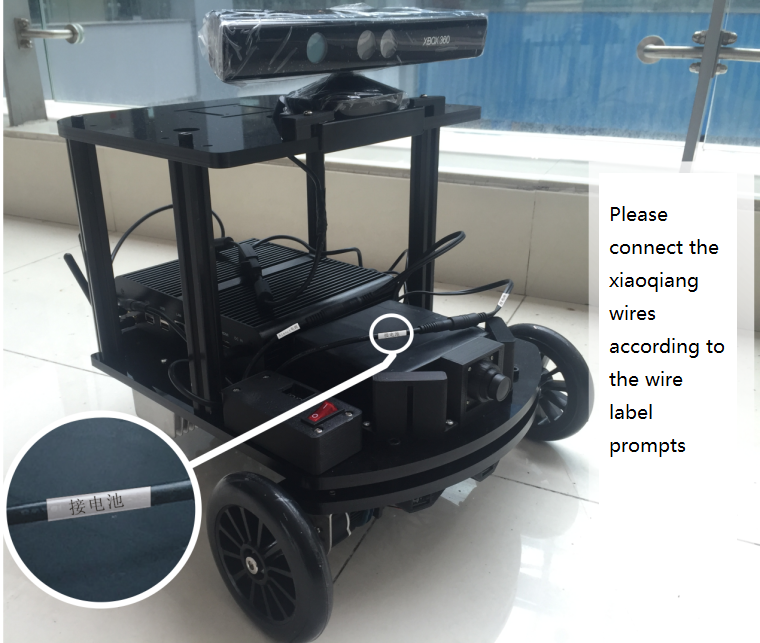
First of all, please connect the xiaoqiang wires according to the wire label prompts. The complete structure is shown in the figure below.
1.Configure the Xiaoqiang network
First connect Xiaoqiang's host computer with monitor(Xiaoqiang Pro users please use the included HDMI to VGA adapter to connect, Xiaoqiang Mini users please use vga directly), The mouse and keyboard connected to the host computer. Then turn on the host computer and enter the Ubuntu system.
xiaoqiang's default password is xiaoqiang
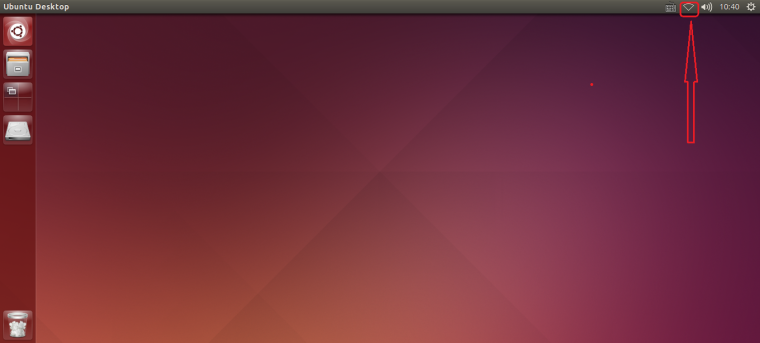
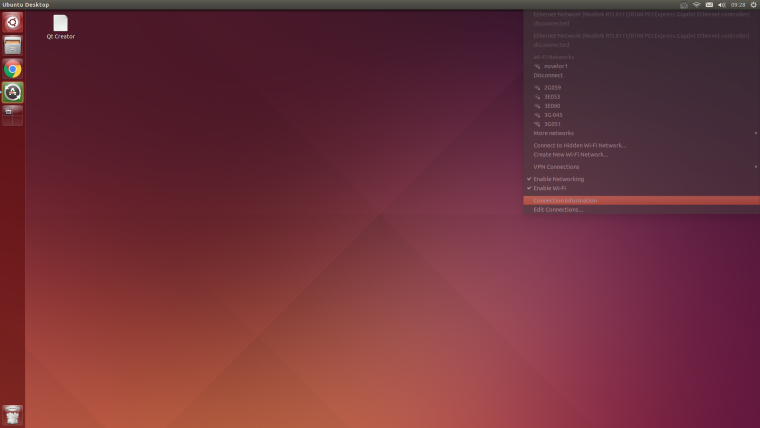
Click on the location of the icon below and select the desired wireless network
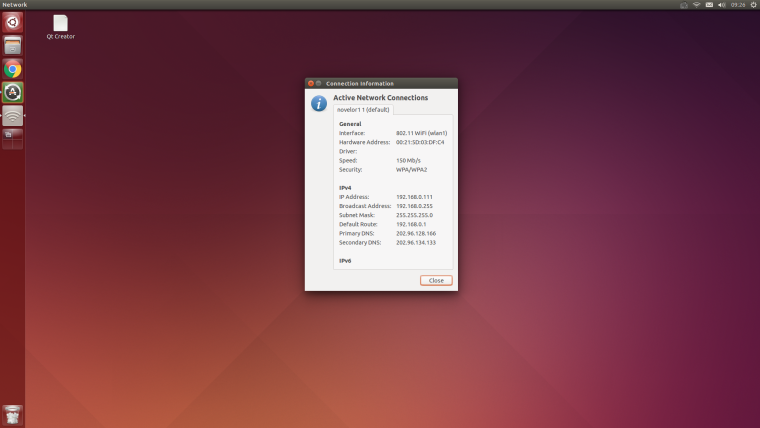
After accessing the network, click on the marked position in the figure below to get Xiaoqiang's actual ip address. Follow-up tutorials will use this ip information frequently.
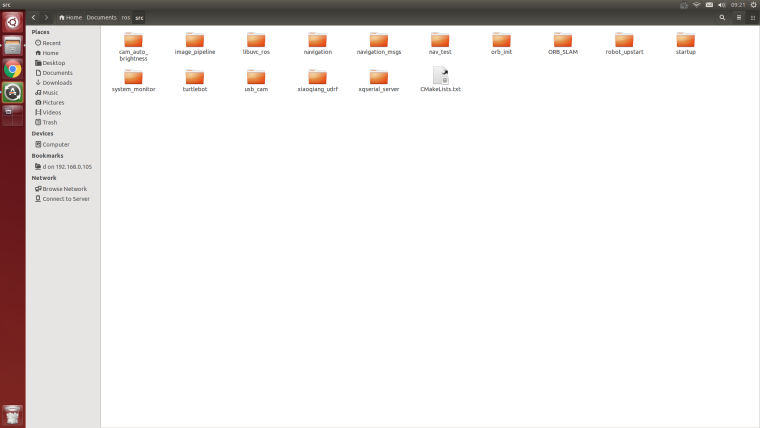
Xiaoqiang's ROS default working directory is here
Now that Xiaoqiang has been configured, the keyboard, mouse, and monitor can be unplugged after power off. The next time Xiaoqiang is powered on, it can be used directly.
2. Local configuration
The local remote control end is preferably an x86 host with ubuntu 16.04 64 bit operating system installed. If you only have a windows platform, you can install the vmware virtual machine. Download Vmware Player from here , and then install ubuntu in the virtual machine. Mirror download and installation tutorial, it is recommended to install Xiaoqiang iso image(already configured ROS). Finally, ensure that the virtual machine be on the same LAN as Xiaoqiang.
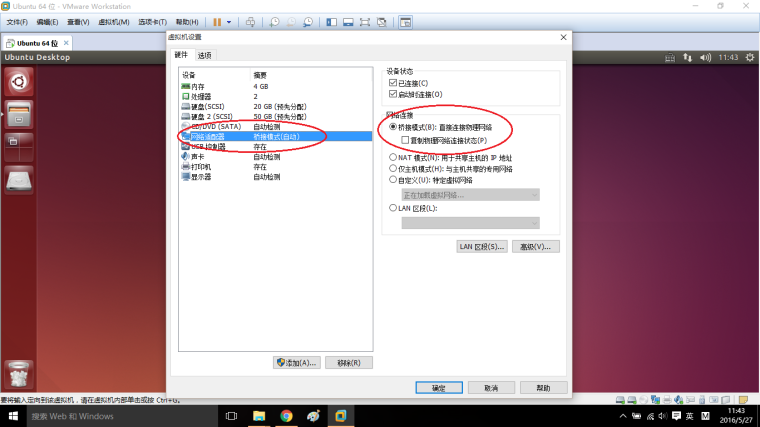
Note The virtual machine NIC is to be set as a bridge, as shown in the following figure. Otherwise the virtual machine will not be able to link the xiaoqiang. If you are unable to connect to xiaoqiang, you can turn off your computer's firewall and try again.
Start Ubuntu system configuration after system deployment
a.Install ssh, screen, if you install Xiaoqiang mirror please skip this operation
sudo apt-get install ssh screen
b.Install ros kinetic, if you install Xiaoqiang mirror please skip this operation, the official tutorial
c.Users who installed Xiaoqiang system image, please turn off startup service to avoid conflicts with Xiaoqiang
sudo service startup stop
rosrun robot_upstart uninstall startup
d.Users who installed Xiaoqiang mirror, please update Xiaoqiang_udrf package according to Xiaoqiang model(Pro?mini)
cd ~/Documents/ros/src/xiaoqiang_udrf
git stash
git pull
# Xiaoqiang pro user, please switch to the master branch
git checkout master
# Xiaoqiang mini user, please switch to mini branch
git checkout mini
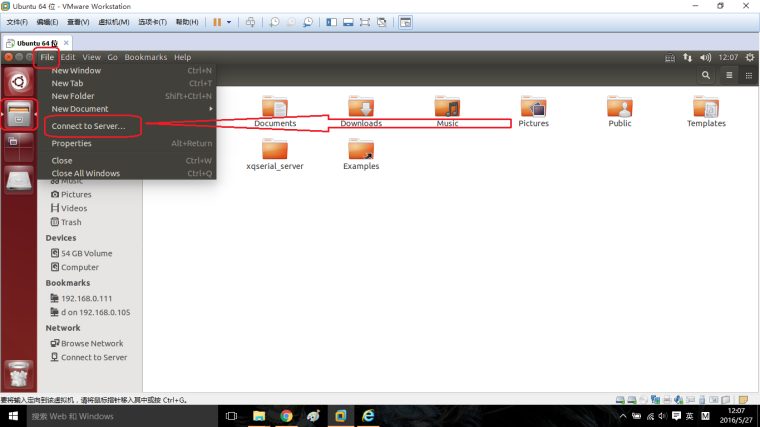
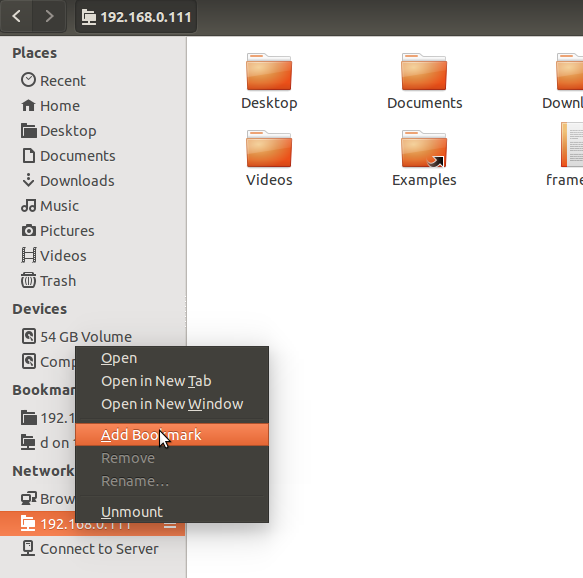
e.Because the follow-up needs to frequently change the files on the Xiaoqiang host, we will now add the Xiaoqiang host remote directory to the local computer so that the file on the Xiaoqiang host can be graphically operated locally (the Xiaoqiang host is equivalent to the external hard disk of the local ubuntu system).
Click on the icon in the figure below to add the remote directory
Enter Xiaoqiang's remote directory. Replace ip with the actual ip address mentioned above.
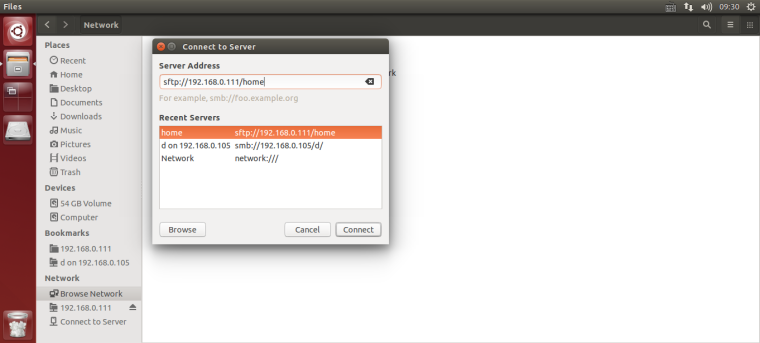
Enter the Xiaoqiang host username and password as prompted.
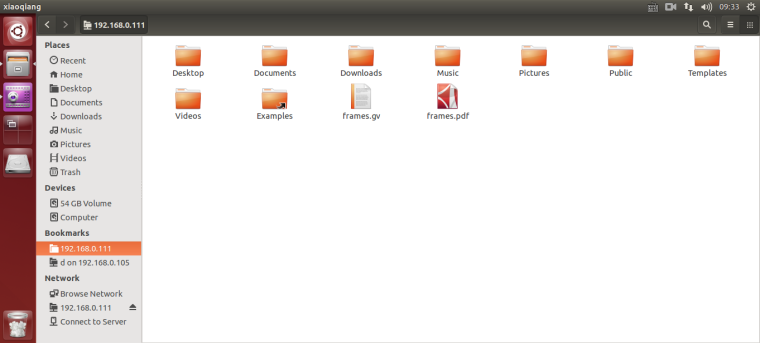
If everything is normal, the home directory of the Xiaoqiang host has been opened. For future convenience, this address can be added to the bookmark.
You click on this bookmark directly next time, you will be able to access the home directory of the Xiaoqiang host.
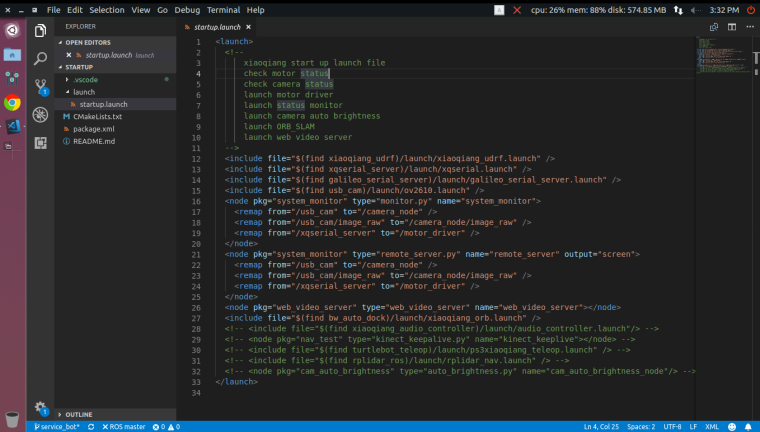
It is recommended to install the vscode editor (already installed in xiaoqiang system image), and it is convenient to code and edit the software package on the Xiaoqiang host.
e.Now that you have the full development and use environment of Xiaoqiang, for example, ssh logs in to the Xiaoqiang host and begins to use the keyboard to remotely control Xiaoqiang’s movement.
Open a terminal on the local machine
Connect to xiaoqiang via ssh, replace xxx with actual ip
ssh xiaoqiang@xxx.xxx.xxx.xxxStart remote program
rosrun nav_test control.pyYou can start controlling the movement of Xiaoqiang through the arrow keys. Spacebar is the stop button. Press
Ctrl + Cto exits the program.
Xiaoqiang's mobile control is achieved by issuing a topic named /cmd_vel,This topic is the Twist type under geometry_msg, Its release method please refer to ros official document. The control.py source code on Xiaoqiang is also a good reference example.
FAQ
Q: The car can only go forward and not back, or can only move back.
A: Check whether the car's infrared sensor is triggered and the sensor will light up after triggering. After the infrared trigger, the car cannot move in the corresponding direction.